 Bundle & Save
 Camping Chair
 Hammocks
 Tote Bag
 Cooler & Coffee Cup
 Beach Towel
 Hooded Towels
 Picnic Blankets
 Bags & Backpacks
 Cooler Backpack
 Outdoor Puffy Blankets
 Tarp, Bug Net & Accessories
Camping in the Rain? Nakie's Tips for Dry & Cosy Camping

No one sits down on a Tuesday night to plan a camping trip in the rain. You check the weekend forecast, see blue skies, pack the car, and hit the road. Then 2:00 am rolls around, and you’re suddenly wide awake because the roof of your shelter sounds like someone is playing a drum kit right above your head.
When the weather turns sideways like that, you’ve really only got two choices. You can panic, pack up a muddy mess in the pitch black, and drive home shivering... or you can lean into it.
With the right setup, rain isn’t a trip-ruiner. In fact, listening to a steady downpour while you’re warm, dry, and holding a hot drink inside a snug setup is low-key one of the best parts of being outdoors. The secret isn't luck but having the right gear built for the damp and knowing the right order to set it up.
Here is how to build an airtight, wet-weather campsite using Nakie’s rain-ready line, and how to make sure you enjoy the forecast.
Choosing the Right Spot on the Map
This is the first step, because even the absolute best gear can’t save a poorly chosen campsite. Where you pitch your campsite is just as important as your gear:
-
Seek high ground: Water always seeks the lowest point. That charming little flat hollow in the clearing might look cosy, but after two hours of steady rain, it’s going to turn into a creek bed. Always look for slightly elevated, gently sloped ground where water naturally drains away from your living space.
-
Beware the "drip line": Setting up directly under a massive, leafy tree canopy feels like a smart move for extra shelter, but it’s often a trap. Big trees hold water on their leaves long after the rain stops, dropping fat, heavy blobs of water right onto your tarp all night. Pitch near trees for anchor points, but avoid hanging directly beneath massive overhead branches if you can.
-
Use natural windbreaks: Sideways rain is what sneaks under tarps. Look for natural barriers like a small rise in the terrain, a thick scrub line, or a boulder to block the prevailing wind. Point the lowest edge of your pitched tarp toward the wind so the storm hits the back of the shield rather than blowing straight under it.
Alright, now we know where to set up camp, let’s get into how to set up.
1. Set Up Overhead Protection First

If you take away just one golden rule from this entire guide, let it be this: your overhead shelter goes up before anything else. Don't wait until the first drop hits your nose. Pitching your rain tarp early, even under clear skies, is the ultimate insurance policy against a sudden downpour.
Don’t unpack your sleeping bag. Don’t hang your hammock. Don’t leave your backpack sitting on the grass while you figure out where the camp stove goes. Everything stays inside your pack or your vehicle until you’ve built a completely dry footprint underneath a tarp.
Pitching for Water Runoff (Not Water Pooling)
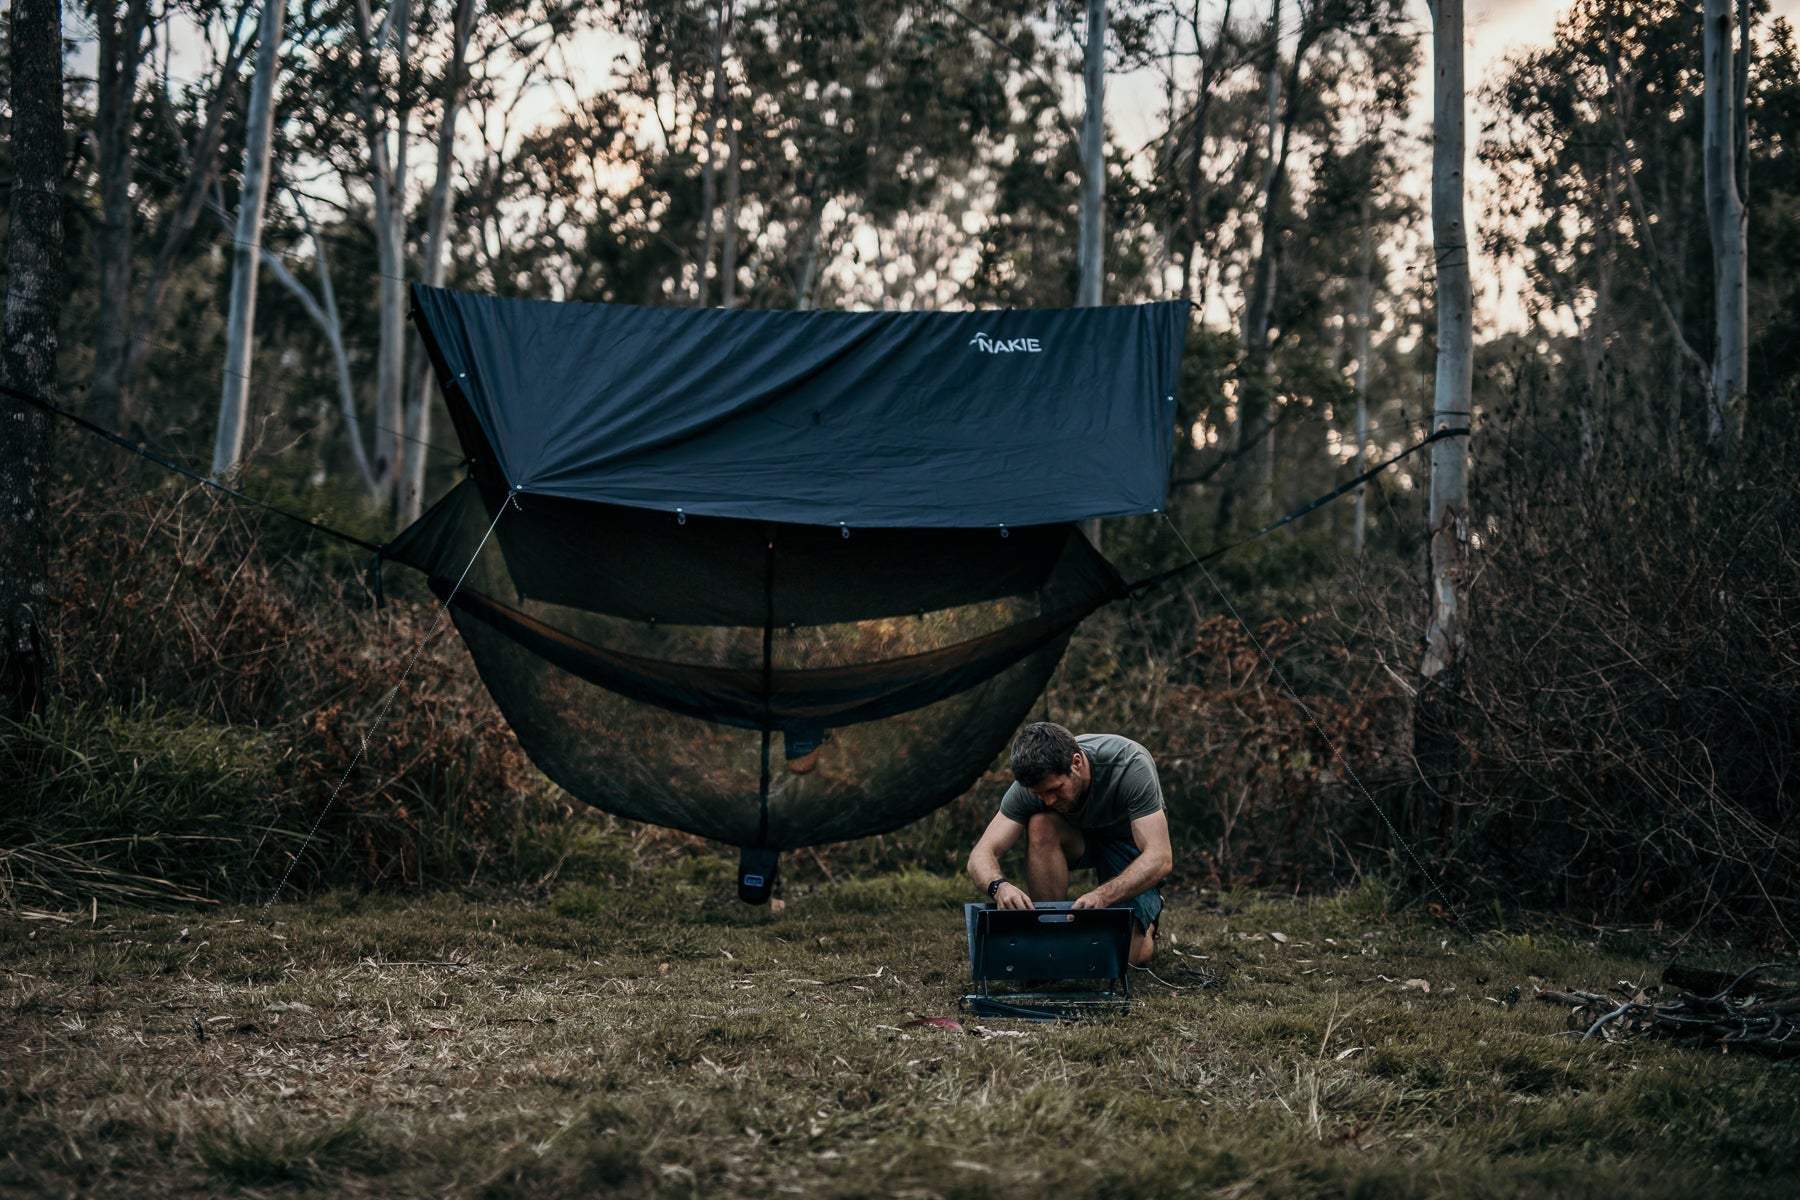
The Nakie rain tarp gives you a generous 3m x 3m footprint made from a 3000mm PU-coated waterproof ripstop recycled polyester. It comes loaded with a 10m ridge line, six guy lines, nine lightweight aluminium ground pegs, and more than 20 individual attachment points. That flexibility means you can shape it into a steep A-frame when torrential rain hits, or stretch it wide for shade when the sun comes back out.
The most common mistake people make when setting up a tarp in the wet is pitching it too flat. A flat tarp looks neat, but it acts like a giant bucket. Water collects right in the centre, building weight until the fabric sags, the lines slip, and a gallon of ice-cold water dumps into your lap.
Always angle your tarp into the wind with a sharp slope. You want the water sliding right off the edge as fast as it lands.
Don't Forget the Tension
Guy lines have a habit of stretching slightly once they get wet. A tarp that was taut when you set it up at 6:00 pm might start to sag by 10:00 pm after a few hours of steady drizzle. Take two minutes before you crawl in for the night to step outside and pull those guy lines tight again. It’s a tiny job that saves you from a soggy surprise at 3:00 am.
If you want to grab your entire rain shelter in one hit rather than piecing it together item by item, the Nakie hammock, tarp & bug net combo bundles all the core pieces together so you're ready for whatever the weather throws at you.
What Nakie customers say:
-
“No knots is very clever, makes setting it up so easy for anyone, especially if you can't tie a knot to save yourself. So many options to use this tarp in. Very clever.” – Leah
-
“The tarp was very easy to set up - and I was grateful that it kept me dry as it was raining as we got to our campsite. I'm excited to use it more and do different configurations.” – Tamara
2. Lock In Your Heat When the Temperature Drops

Rain drops the ambient temperature very quickly. Combine damp air with a slight breeze, and your body heat drops much quicker than it would on a dry night at the same temperature.
Once your tarp is pitched, your hammock is hung, and your dry sanctuary is established, it's time to bring out the warmth: the Nakie sustainable puffy blanket.
Why DWR Coating is King in the Wet
Traditional down insulation is notorious for failing the moment it gets wet. The feathers clump together, lose their loft, and stop holding warmth entirely. We solved this by filling the blanket with 500 grams of 100% recycled synthetic down (reclaiming roughly 54 plastic bottles per blanket) rated down to 5°C.
Synthetic down retains its ability to trap heat even in high humidity, but what really saves the day in wet weather is the blanket’s outer shell. Treated with a 90/10 DWR (Durable Water Repellent) finish, mist, campsite condensation, and stray raindrops bead up and roll right off the fabric instead of soaking into the insulation.
It squishes down into a compact stuff sack weighing just 780 grams, making it an effortless addition to your pack. Plus, it features built-in cape clips, meaning you can wrap it around your shoulders and wear it hands-free while you walk around camp, re-adjust guy lines, or tend to the fire without the hem dragging in the wet mud.
3. Lean Into the Experience (And Keep the Coffee Hot)

Camping in the rain can be pretty magical once the gear is set up and working. All you need to do is sit back, relax, and listen to the sound of rain hitting the tarp. True bliss if you ask us! Now it’s time to brew something hot.
Keeping a hot drink handy is as much about morale as it is about keeping your core temperature up. The Nakie cooler can & coffee cup is built for double-duty around camp. It’s a 325ml double-wall vacuum-insulated vessel that keeps your morning brew steaming hot even when the air is chilly and crisp. When the weather clears up later in the afternoon, pop the lid off, and it instantly transforms into a cooler sleeve for standard cans and bottles.
Sitting back in a dry hammock, wrapped in a puffy blanket, sipping hot coffee (or hot choccie) while listening to rain hit the tarp overhead is truly peak camping.
4. The Exit Strategy: Staying Dry After Camp is Packed

Camping in the rain is totally fine while you're tucked away under a tarp. The tricky part is the transition phase – packing up camp, walking to the car, and getting changed without dragging half the muddy campsite into your car.
This is where having a towel accessible makes or breaks the end of your trip. Don't shove your towel at the very bottom of your duffel bag under six layers of clothes. Keep the Nakie hooded towel right in the top pocket of your bag or on the back seat of your car.
Why you’ll love it:
-
Massive absorbency: Measuring 80cm x 100cm, this hooded poncho style is woven from recycled materials designed to absorb up to a full litre of water in seconds.
-
Wearable changing robe: Because it slips right over your head, it acts as a portable changing room at the trailhead or in the parking lot. You can pull off damp outer layers underneath the towel without flashing the rest of the campsite or freezing in the wind.
-
No soggy car seats: When you’re done, the entire towel stashes away into its own water-resistant neoprene storage bag. That means you can shove a wet towel straight into your trunk or backpack without worrying about dampness leaking into your clean clothes or gear on the drive home.
5. Post-Trip Care: How to Prevent the dreaded "Camp Swamp Smell"
The trip isn't officially over when you pull back into your driveway. What you do with your gear in the first 24 hours after a wet trip determines whether it lasts for a decade or gets ruined by mould and mildew.
Never leave damp gear compressed inside stuff sacks or sitting in the trunk of your car overnight. Mildew can start setting in damp fabric in just 24 to 48 hours.
How to Clean & Dry Each Piece:
-
The rain tarp & hammock: Unpack them as soon as you get home. Wipe off any grit or mud with a damp cloth and cold water (avoid harsh chemical detergents that can strip the waterproof PU coatings). Hang them up in a shaded, well-ventilated area like a garage, porch, or laundry room until they are 100% dry to the touch before packing them back into their sacks. Avoid drying them in harsh, direct sunlight, as intense UV rays break down synthetic fibres and line coatings over time.
-
The puffy blanket: Unlike delicate down sleeping bags, the synthetic fill in the puffy blanket can go straight into your washing machine. Run it on a gentle, cold cycle with a mild, non-bleach detergent. Toss it in the dryer on an air-dry setting with two clean tennis balls (the balls bounce around during the cycle to fluff up the synthetic fill and prevent it from clumping together).
-
The hooded towel: Give it a standard machine wash, let it air dry completely, and pack it back into its neoprene case so it's fresh and ready for the next last-minute weekend forecast.
Camping in the Rain Checklist
Before you head out into a murky forecast, double-check that you've checked off these camp essentials:
-
Pitch the tarp first before unpacking any soft gear or clothing.
-
Set a steep angle on your tarp lines to force immediate water runoff.
-
Re-tighten guy lines after the first hour of steady rain to account for line stretch.
-
Keep your blanket in its dry sack until you are fully settled underneath your shelter.
-
Stash your hooded towel near the car door for an easy, dry transition when packing up.
-
Dry everything out completely the moment you get back home.
Rain on the radar doesn't mean you need to cancel your weekend camping plans. Grab the right gear, set it up correctly, and enjoy Mother Nature in all its glory.
Camping in the Rain FAQs
Will a Nakie hammock keep me dry on its own?
No. The hammock fabric is water-resistant to handle light mist, but for actual rainfall, you’ll need to pair it overhead with the Nakie Rain Tarp.
Is the tarp actually waterproof or just resistant?
It is fully waterproof. Constructed from 3000mm PU-coated ripstop recycled polyester with heat-taped seams, it’s designed specifically to handle wet weather.
What if my campsite doesn't have suitable trees?
You don't strictly need trees – you just need two sturdy anchor points. Vehicle roof racks, heavy-duty bullbars, verandah posts, or structural park shelters all work brilliantly in a pinch.